Hey Creative Friends, Happy New Year to you all. I’m back on the blog today kicking off the 2021 inspiration with a scrapbook layout share for Cocoa Vanilla Studio. For this page, I thought it would be fun to scrap this black and white photo of myself, taken at the end of 2020 at my local ballet studio.

For this page, I was inspired by the current Inspiration board, in particular, the image with all of the frames in it and the quote that says ‘This is where the fun stuff happens’. Be sure to pop by the Cocoa Vanilla Studio Facebook Community for more details on how to play along.

To begin my page, I backed a cut file from CUT to YOU called ‘Snapshots‘, with pattern papers from the ‘Pretty Bits‘ pattern paper, the ‘Story Teller‘ cut apart sheet and papers from the 6×8 pattern paper pad. I’ve also backed my photo with the pattern paper ‘Lacewing‘ and stitched around the edge for added detail.

I’ve placed my backed cut file centred on the page and added a frame to my background using the ‘Natural Beauty‘ pattern paper.

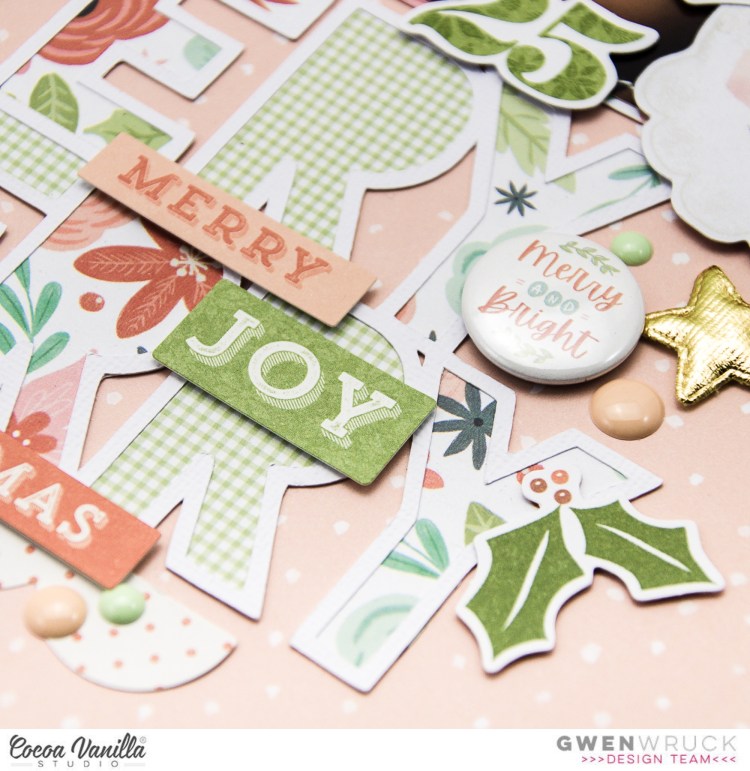
Now it was time to embellish. For this, I worked with a visual triangle to create three clusters around my page. I’ve chosen elements from the Ephemera Pack, Die Cut Accessory Stickers and a Flair button.

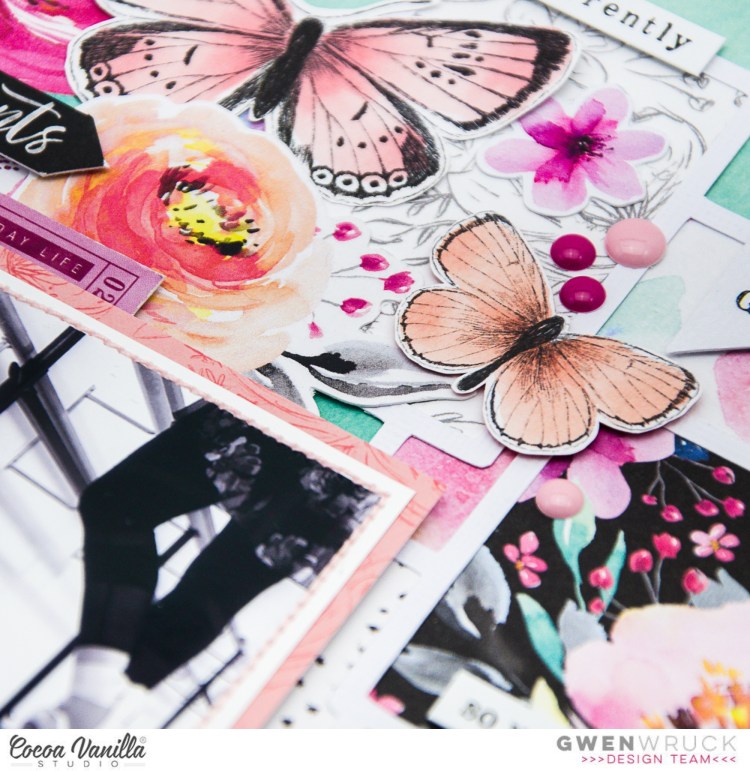
My main focus for creating the clusters was to balance out the colours on the page, especially the pops of black. I’ve also made sure to represent all of the colours in the inspiration board including the soft Apricot/Peach tone you can see below in the butterflies.

Here’s a close up of all the lovely layers of my page.
To finish off my page, I’ve added in some of the Enamel Dots in the two tones of Pink.

I’ve also made a YouTube process video which you can watch here:
Thanks for popping by today,